
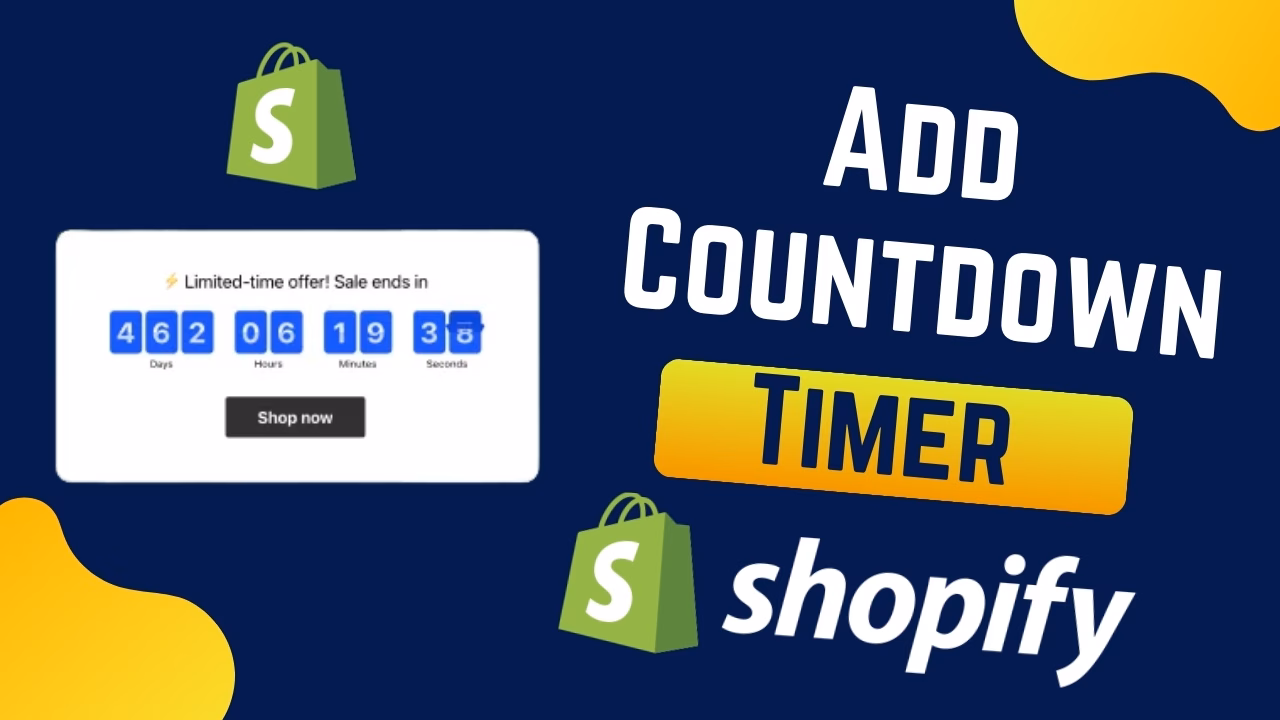
In today’s competitive e-commerce world, creating urgency can significantly impact your conversion rates. One of the best ways to do this without using heavy third-party apps is by adding a countdown timer to your product pages. This not only grabs your customers’ attention but also encourages them to make quicker purchase decisions.
In this quick tutorial, I’ll guide you through the process of adding a countdown timer on your Shopify store using just Liquid and JavaScript. Let’s dive in!
Step 1: Access Your Shopify Admin and Edit Theme
First, you need to log in to your Shopify Admin.
- Go to your Shopify dashboard.
- Open your current theme and click on Edit Code.
Now, you’ll need to find the product template file where you want to display the countdown timer. It’s usually named product.liquid or something similar, like main-product.liquid.
Step 2: Locate the Add to Cart Button
You will place the countdown timer just above the Add to Cart button. In most themes, this button is often denoted by buy_button.
To find it, use the search function to locate the line of code for the Add to Cart button:

Once you find this, you’ll know where to insert your countdown timer code.
Step 3: Add the HTML Code for the Countdown Timer
Now that you’ve located the right place, you can add your HTML code for the countdown timer. This is the area where the countdown will be displayed.
Here’s an example HTML snippet:
<div id="countdown-wrapper">
    <p>Hurry! Sale ends in:</p>
    <div id="countdown" style="font-weight:bold;"></div>
</div>
Step 4: Insert the Countdown Timer Script
Next, you need to insert the JavaScript code that will actually run the countdown timer. You can paste the following script either in your theme.liquid or directly inside your product template file:
<script>
    document.addEventListener("DOMContentLoaded", function () {
        const countdownElement = document.getElementById("countdown"); // :dart: Set your target date and time here (in YYYY-MM-DDTHH:MM:SS format)
        const endTime = new Date("2025-05-20T23:59:59").getTime(); // Example: May 20, 2025 at 11:59:59 PM
        function updateCountdown() {
            const now = new Date().getTime();
            const diff = endTime - now;
            if (diff <= 0) {
                countdownElement.innerHTML = "Offer expired!";
                return;
            }
            const hours = Math.floor((diff / (1000 * 60 * 60)) % 24);
            const minutes = Math.floor((diff / (1000 * 60)) % 60);
            const seconds = Math.floor((diff / 1000) % 60);
            const days = Math.floor(diff / (1000 * 60 * 60 * 24));
            countdownElement.innerHTML = `${days}d ${hours}h ${minutes}m ${seconds}s`;
            setTimeout(updateCountdown, 1000);
        }
        if (countdownElement) {
            updateCountdown();
        }
    });
</script>
This script sets a countdown timer for June 1st, 2025, at midnight, but you can change this date and time to suit your needs.
Step 5: Add Some CSS to Style the Timer (Optional)
To make the countdown timer stand out, you can add some CSS styles. You can either add the CSS to your base CSS file or use a <style> tag above your HTML code.
Here’s a sample CSS you can use:
<style>
    #countdown-wrapper {
        background: #fff3cd;
        padding: 10px;
        margin-top: 20px;
        border: 1px solid #ffeeba;
        font-size: 16px;
        text-align: center;
    }
    #countdown-wrapper p {
        margin: 0;
    }
</style>
This CSS will make the countdown timer bold, red, and centered on your product page.
Step 6: Save and Test Your Changes
After adding the HTML, JavaScript, and CSS, be sure to save your changes and refresh your product page to see the countdown timer in action.
If this tutorial helped you, don’t forget to like and subscribe for more helpful tips and tricks!

